Victorian Pine Flooring
Within years of work every builder would have its own style, which they constantly shape to create fine method of work. In fact, code of conduct sets obligation to follow the common principles of working practice. Here we will summarize how we do that using the example of old Victorian pine floor installed and fixed which often can be found in UK.
Get Free Quote
send us your project details
Processes
To start off weakening the creaking and moving boards as its necessary to fasten them to special self-tapping screws which don’t breaks the board as well as the nails, since the self-tapping screws fasten much better and serve much longer then nails.
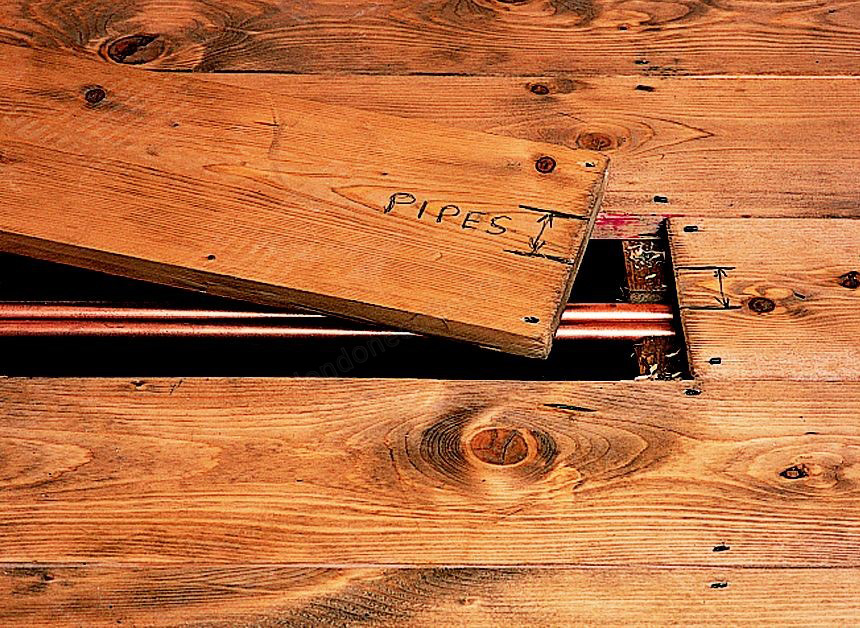
Before we begin to fasten the boards, we detect pipes and wiring with a detector and mark it so that at the time of strengthening the boards do not break their integrity. According to the technology, all communications under the wooden floorboards pass through the center of the board.
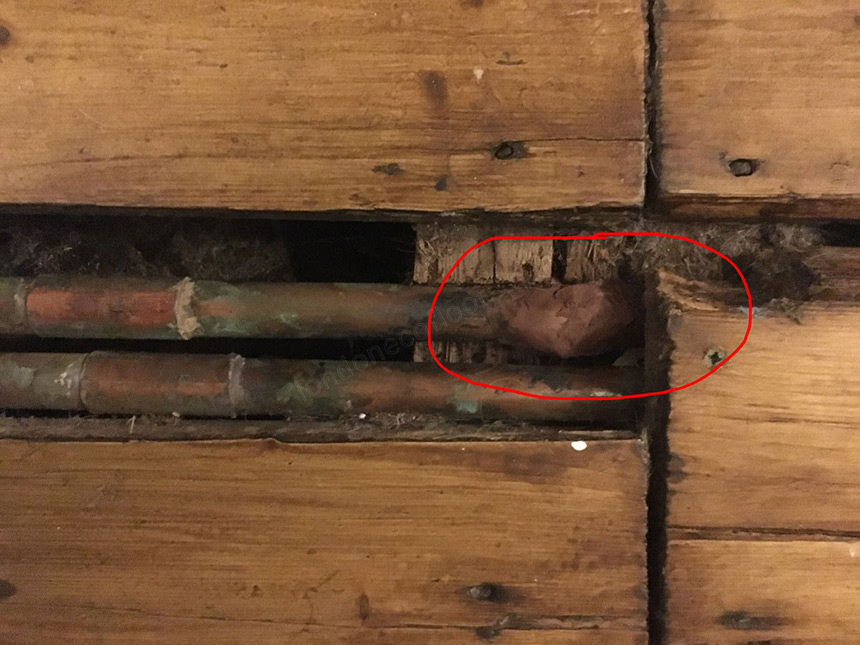
As disappointing as it may sound there are cases when after poor-quality repair work this technology is interrupted. This would mean that pipes and electrical wires pass along the edge of the board (in places where screws should have been installed).
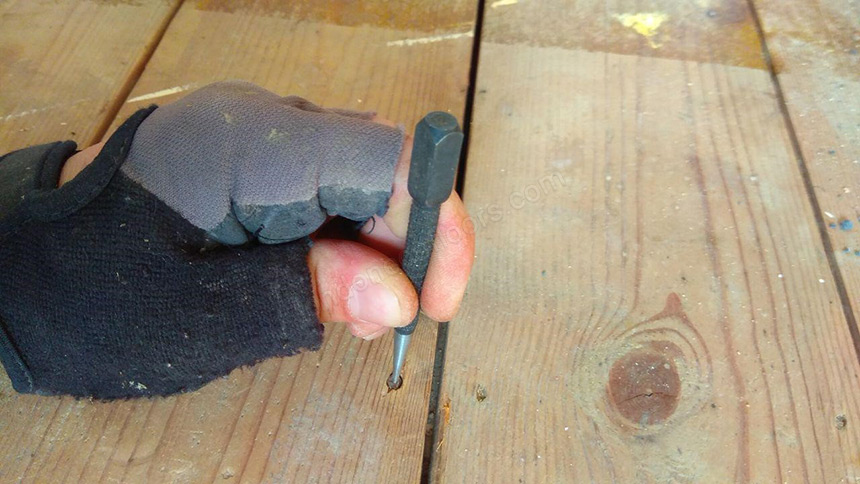
After completion of strengthening of a floor we hammer deep into nails with the help of the (special tool) as you can see hats remain visible on a surface of boards.
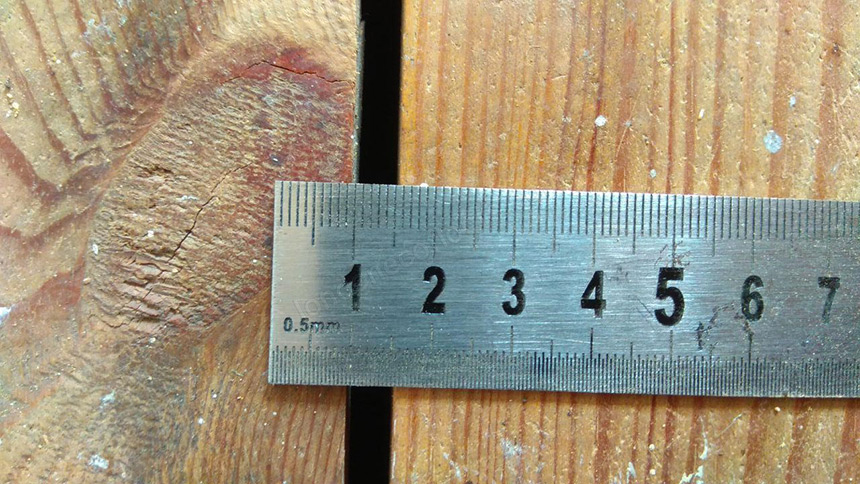
The next step is to measure the width of the gaps between the boards. Since the cracks are more than 3 mm. it is necessary to install pine slivers.
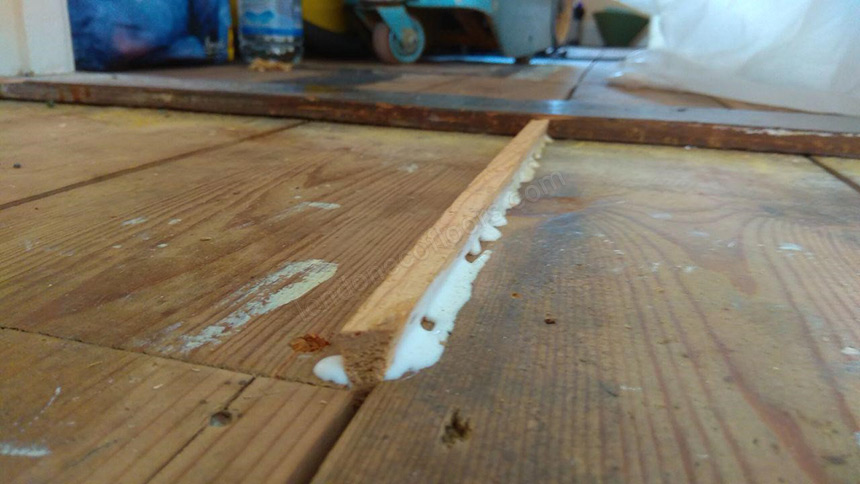
In worst case scenario the usual spackling from vibration will soon fly out. After the installation of pine slivers, its necessary to allow some time for a glue to be dry. After drying, we would cut off all the left outs from the slivers.
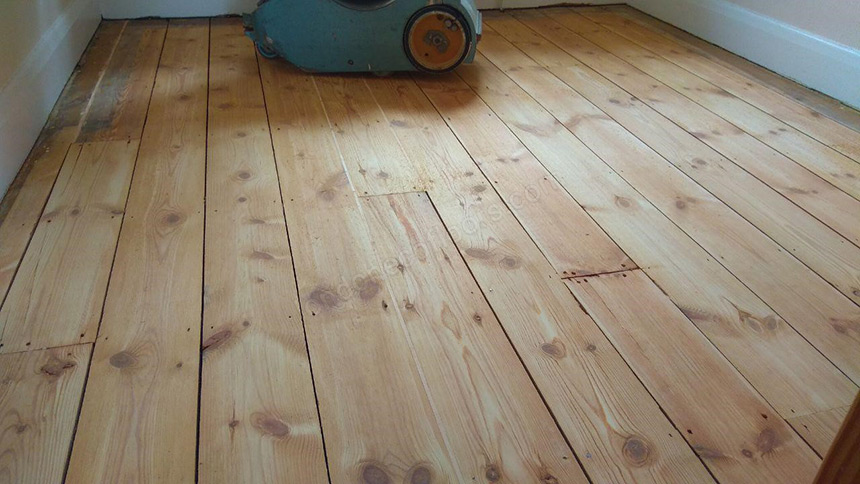
The next step is to start grinding Victorian pine wood floor. We're doing is the process of the rough sanding with grit № 36. This will allow us to remove all the floor irregularities and remove the old protective layer of varnish and paint. After finishing grinding № 36 abrasive, the floor becomes clean. Then we hammer in all the remaining nails, which were left out after sanding.
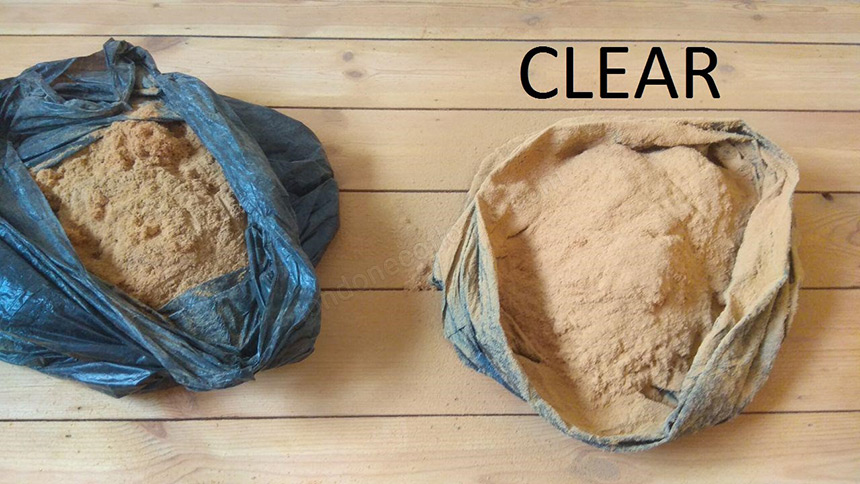
Next, we pour out the dust out of the dust collector out of sanding machine because to fill the cracks less than 3 mm on our wooden floor we need clean dust. Then, we apply the № 60 on the machine to remove rough scratches, and the remaining after № 36 abrasive. Behind it, we install sandpaper grid № 80 to remove scratches after № 60. Then we would pour the clean dust into a separate bag.
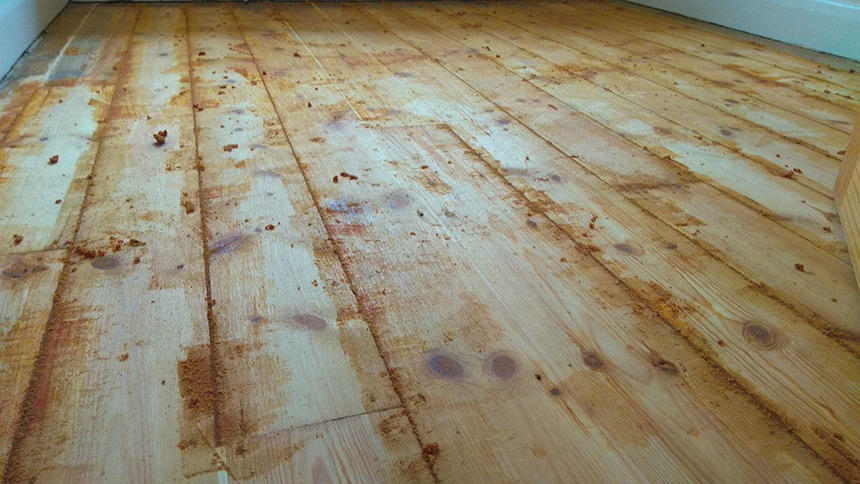
After that, we begin to knead the gap filling and clean dust and begin gap filling the floor.
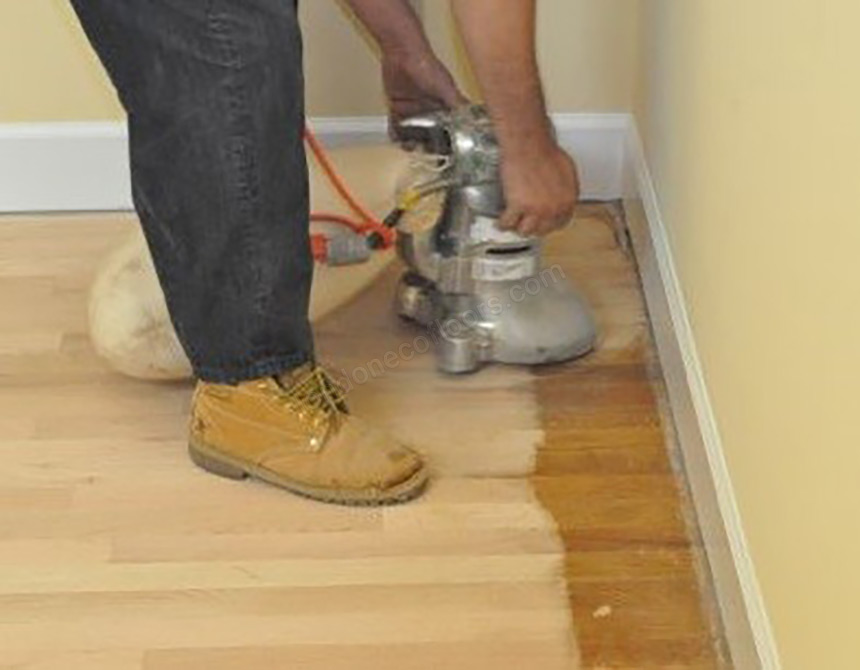
After drying the gap filler, we grind all the remains of the unnecessary filler so that it remains only in the crevices. After finishing grinding with a drum grinding machine paper № 100. Then we proceed to sand the perimeter along the walls (edging), where the main equipment does not reach the boundaries due to its technical features. After that, we manually clean the corners and places inaccessible for grinding with the tool.
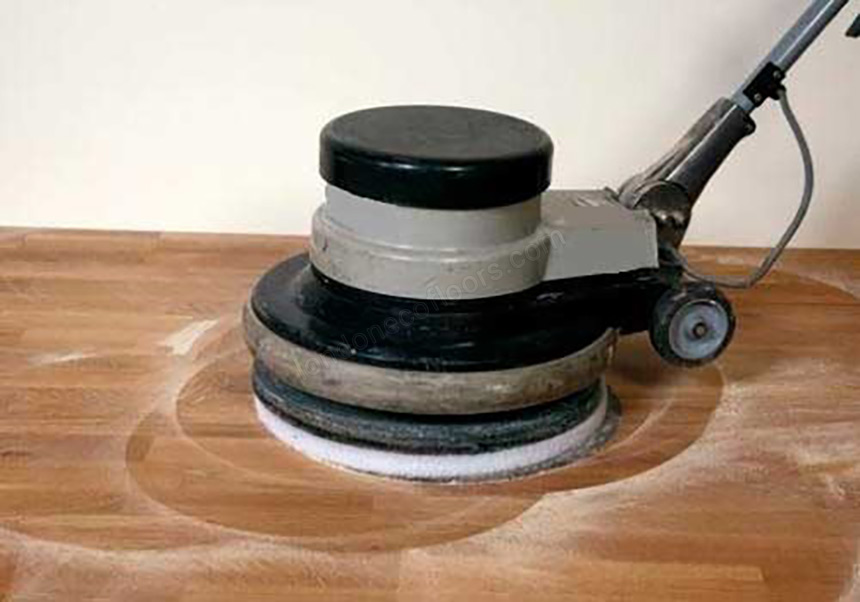
Everything is ready for the final grinding (buffing). Now the good news is that thanks to this we can achieve the best quality of grinding. Grinding of a buffing is made by a grinding paper of different granularity to achieve the best result (№ 80, 100, 120, 140).
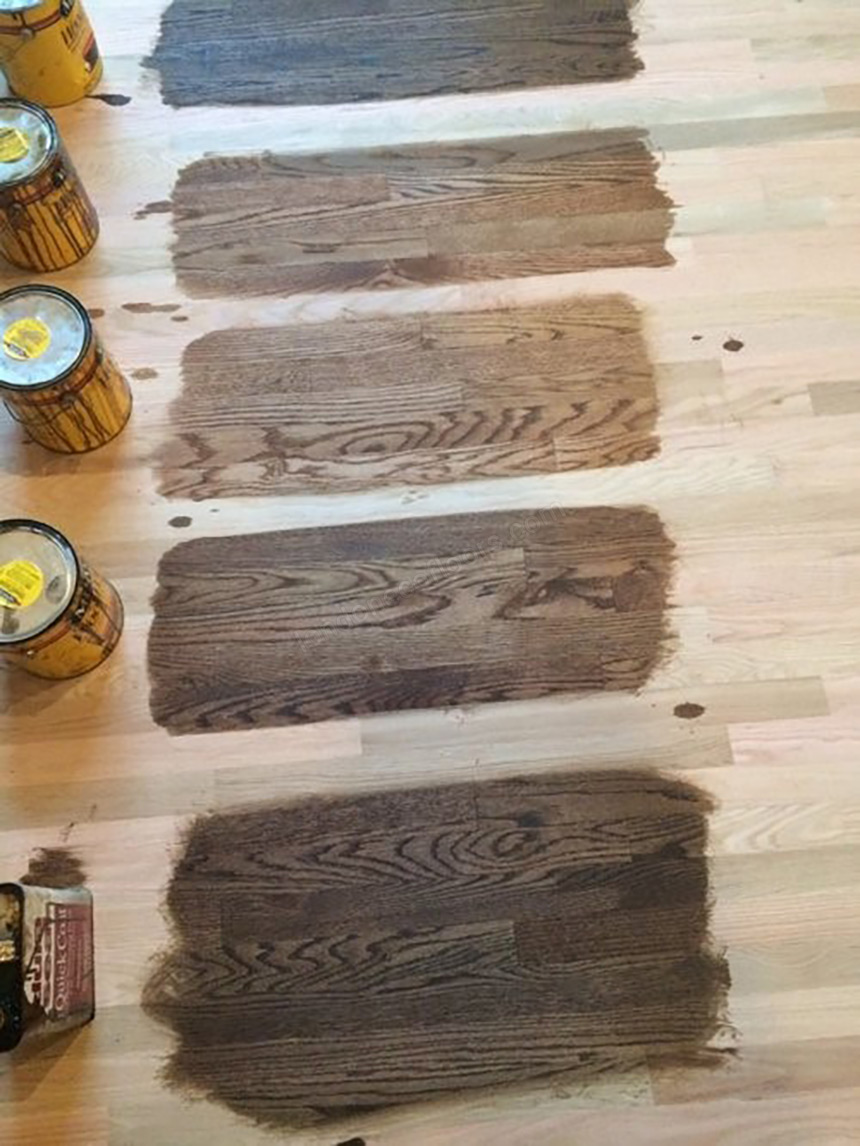
The next step at your discretion may be the applying of a transparent varnish or applying colours. If you wish to change the colour, we will make several samples for you to choose from to apply on your floor. After drying the toning, we will apply a protective layer of clear varnish or oil to create better protective cover for the floor because the tint layer has exclusively decorative properties (not protective).
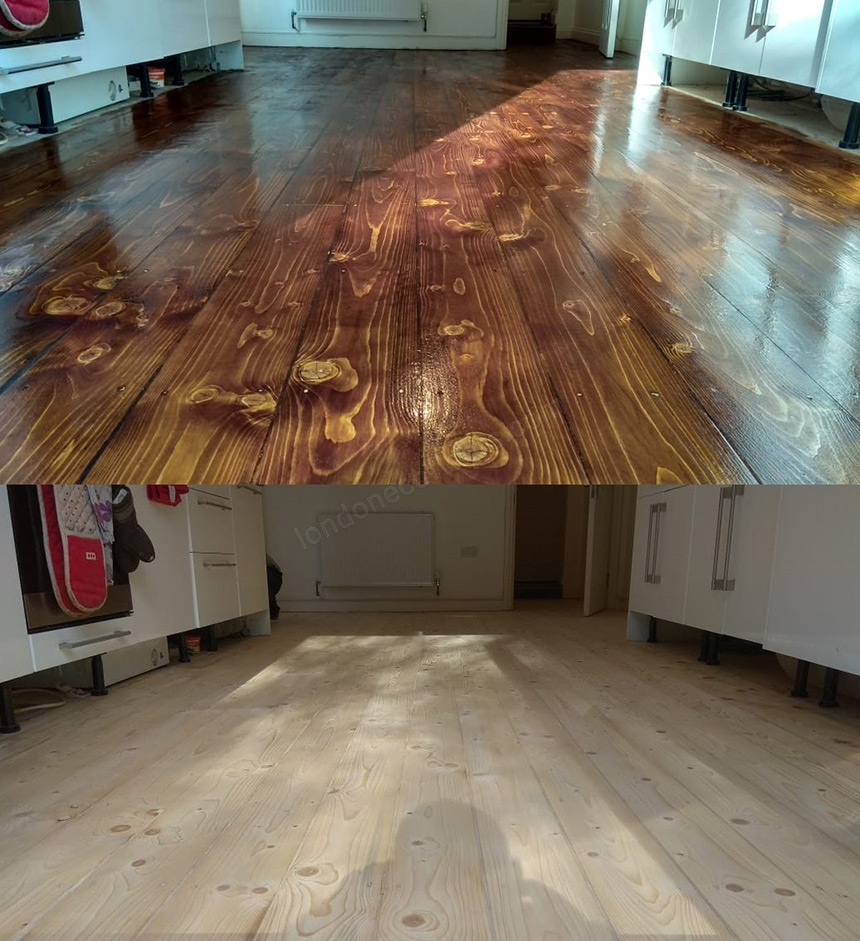
So just to summarize, we have illustrated the main stages of work, without going into too much details. Of course one could argue that there are lot more details which could be included in this short article but we’ve made sure the main ones are covered. When reading this article, one has to remember that each object is individual and has its own characteristics. Behind many years of experience we have learned to find and tailor solutions even in very difficult situation and we wold be happy to apply our experience to repair your floor.
Completed projects
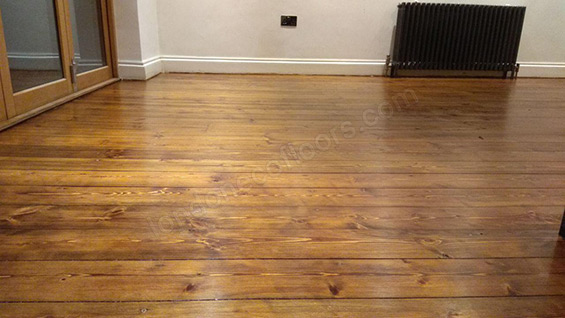
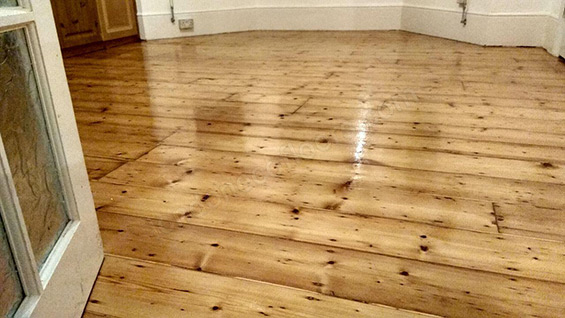
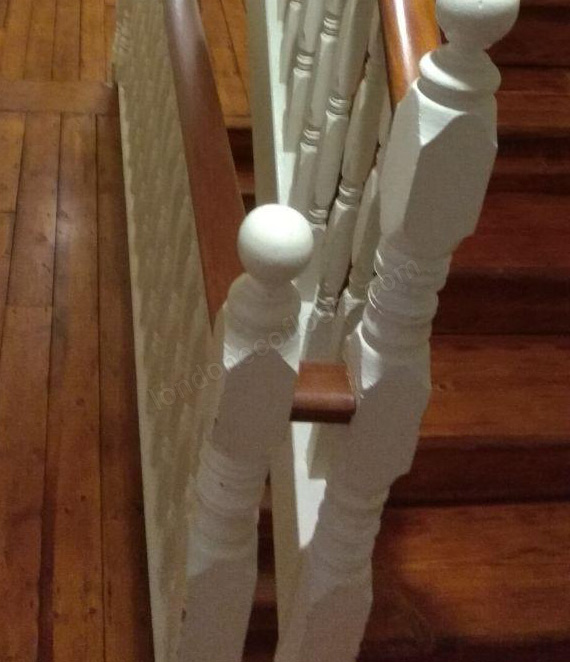
Make victorian pine flooring
Do you have a question, the answer to which is not on the site? Just fill out the form and we will try to answer your question.


